How to Fix a Garbage Disposal
A jammed garbage disposal is easy enough to replace, compared to other plumbing. Very old and noisy disposals probably should be replaced with newer, more rugged models. But frugal landlords need to know how to fix a garbage disposal because most can be unjammed. Knowing how to fix instead of replace can save an hour of your time and roughly a hundred dollars.
This example uses the Badger 5, available at box stores.
You will need:
- Correctly sized hex wrench
- Flashlight
- Pointy tongs
Time estimate:
- 15 minutes
Cost estimate:
- $0
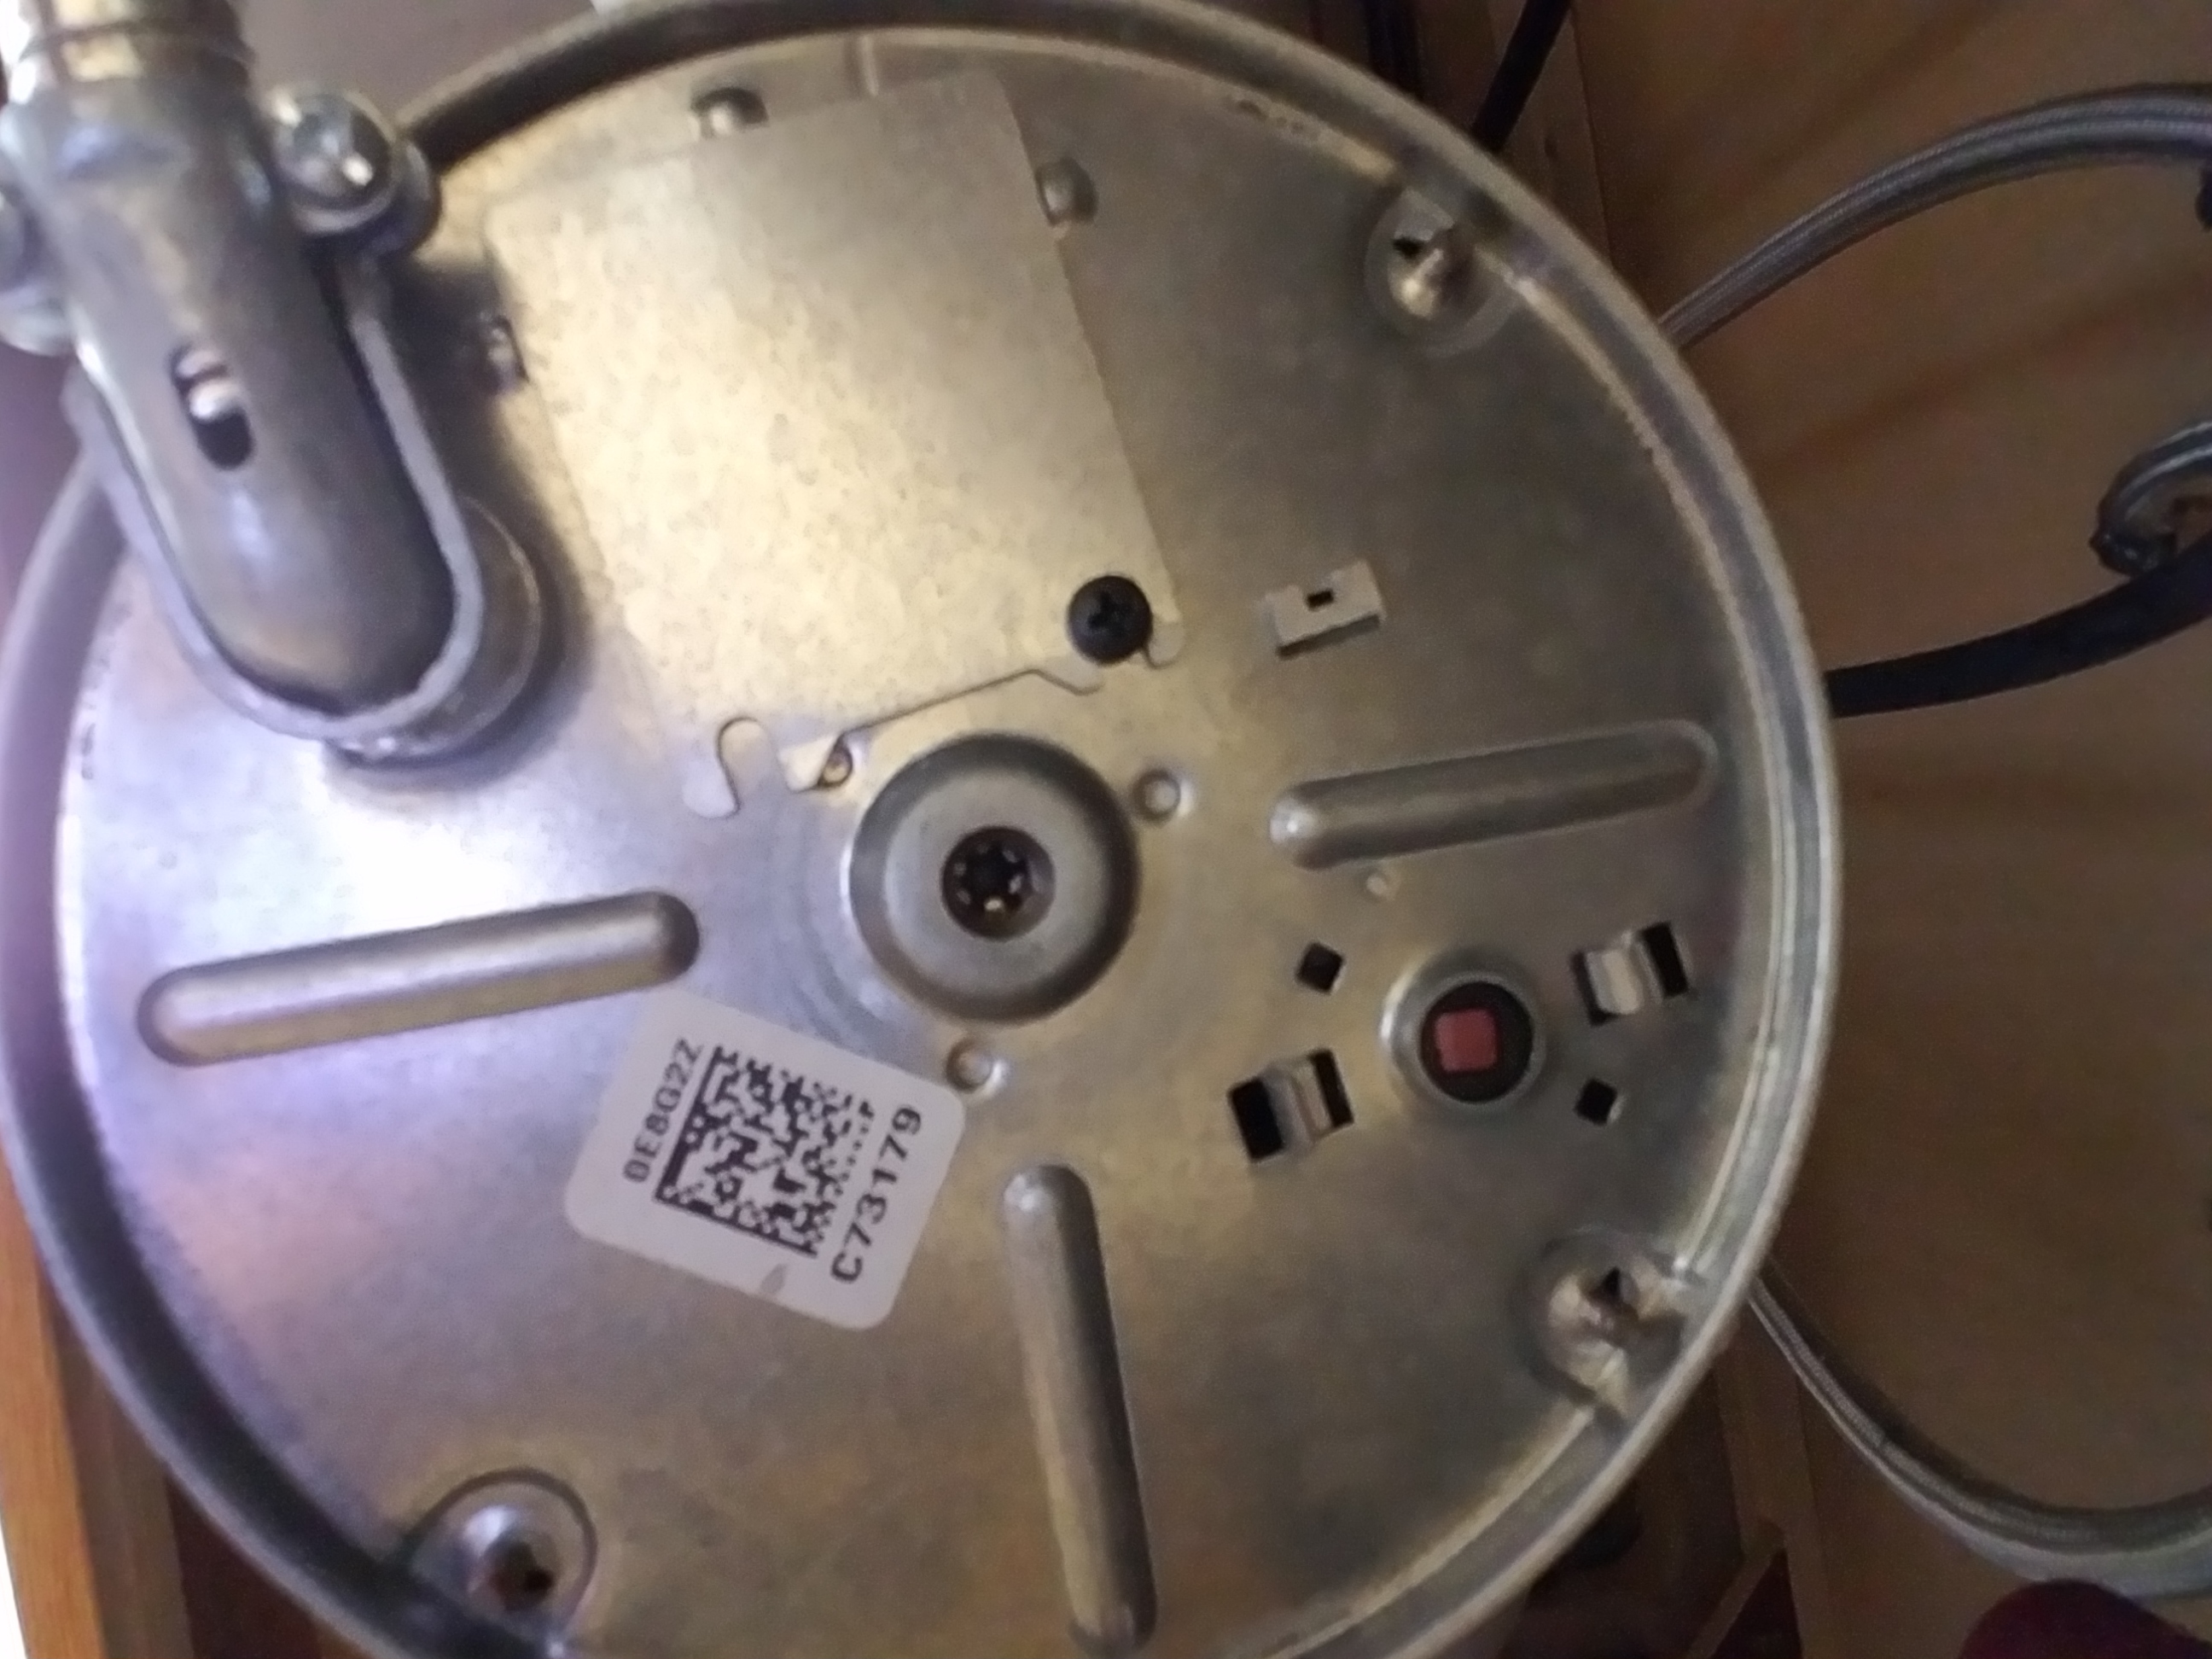
Step One
Underneath the garbage disposal is a red button. This is a breaker that trips if the disposal is jammed. You will need to press the red button in.
First make sure the wall switch that is normally used to activate the disposal is turned off. Ask your tenant to clear underneath their disposal to give you access. Push in the red button.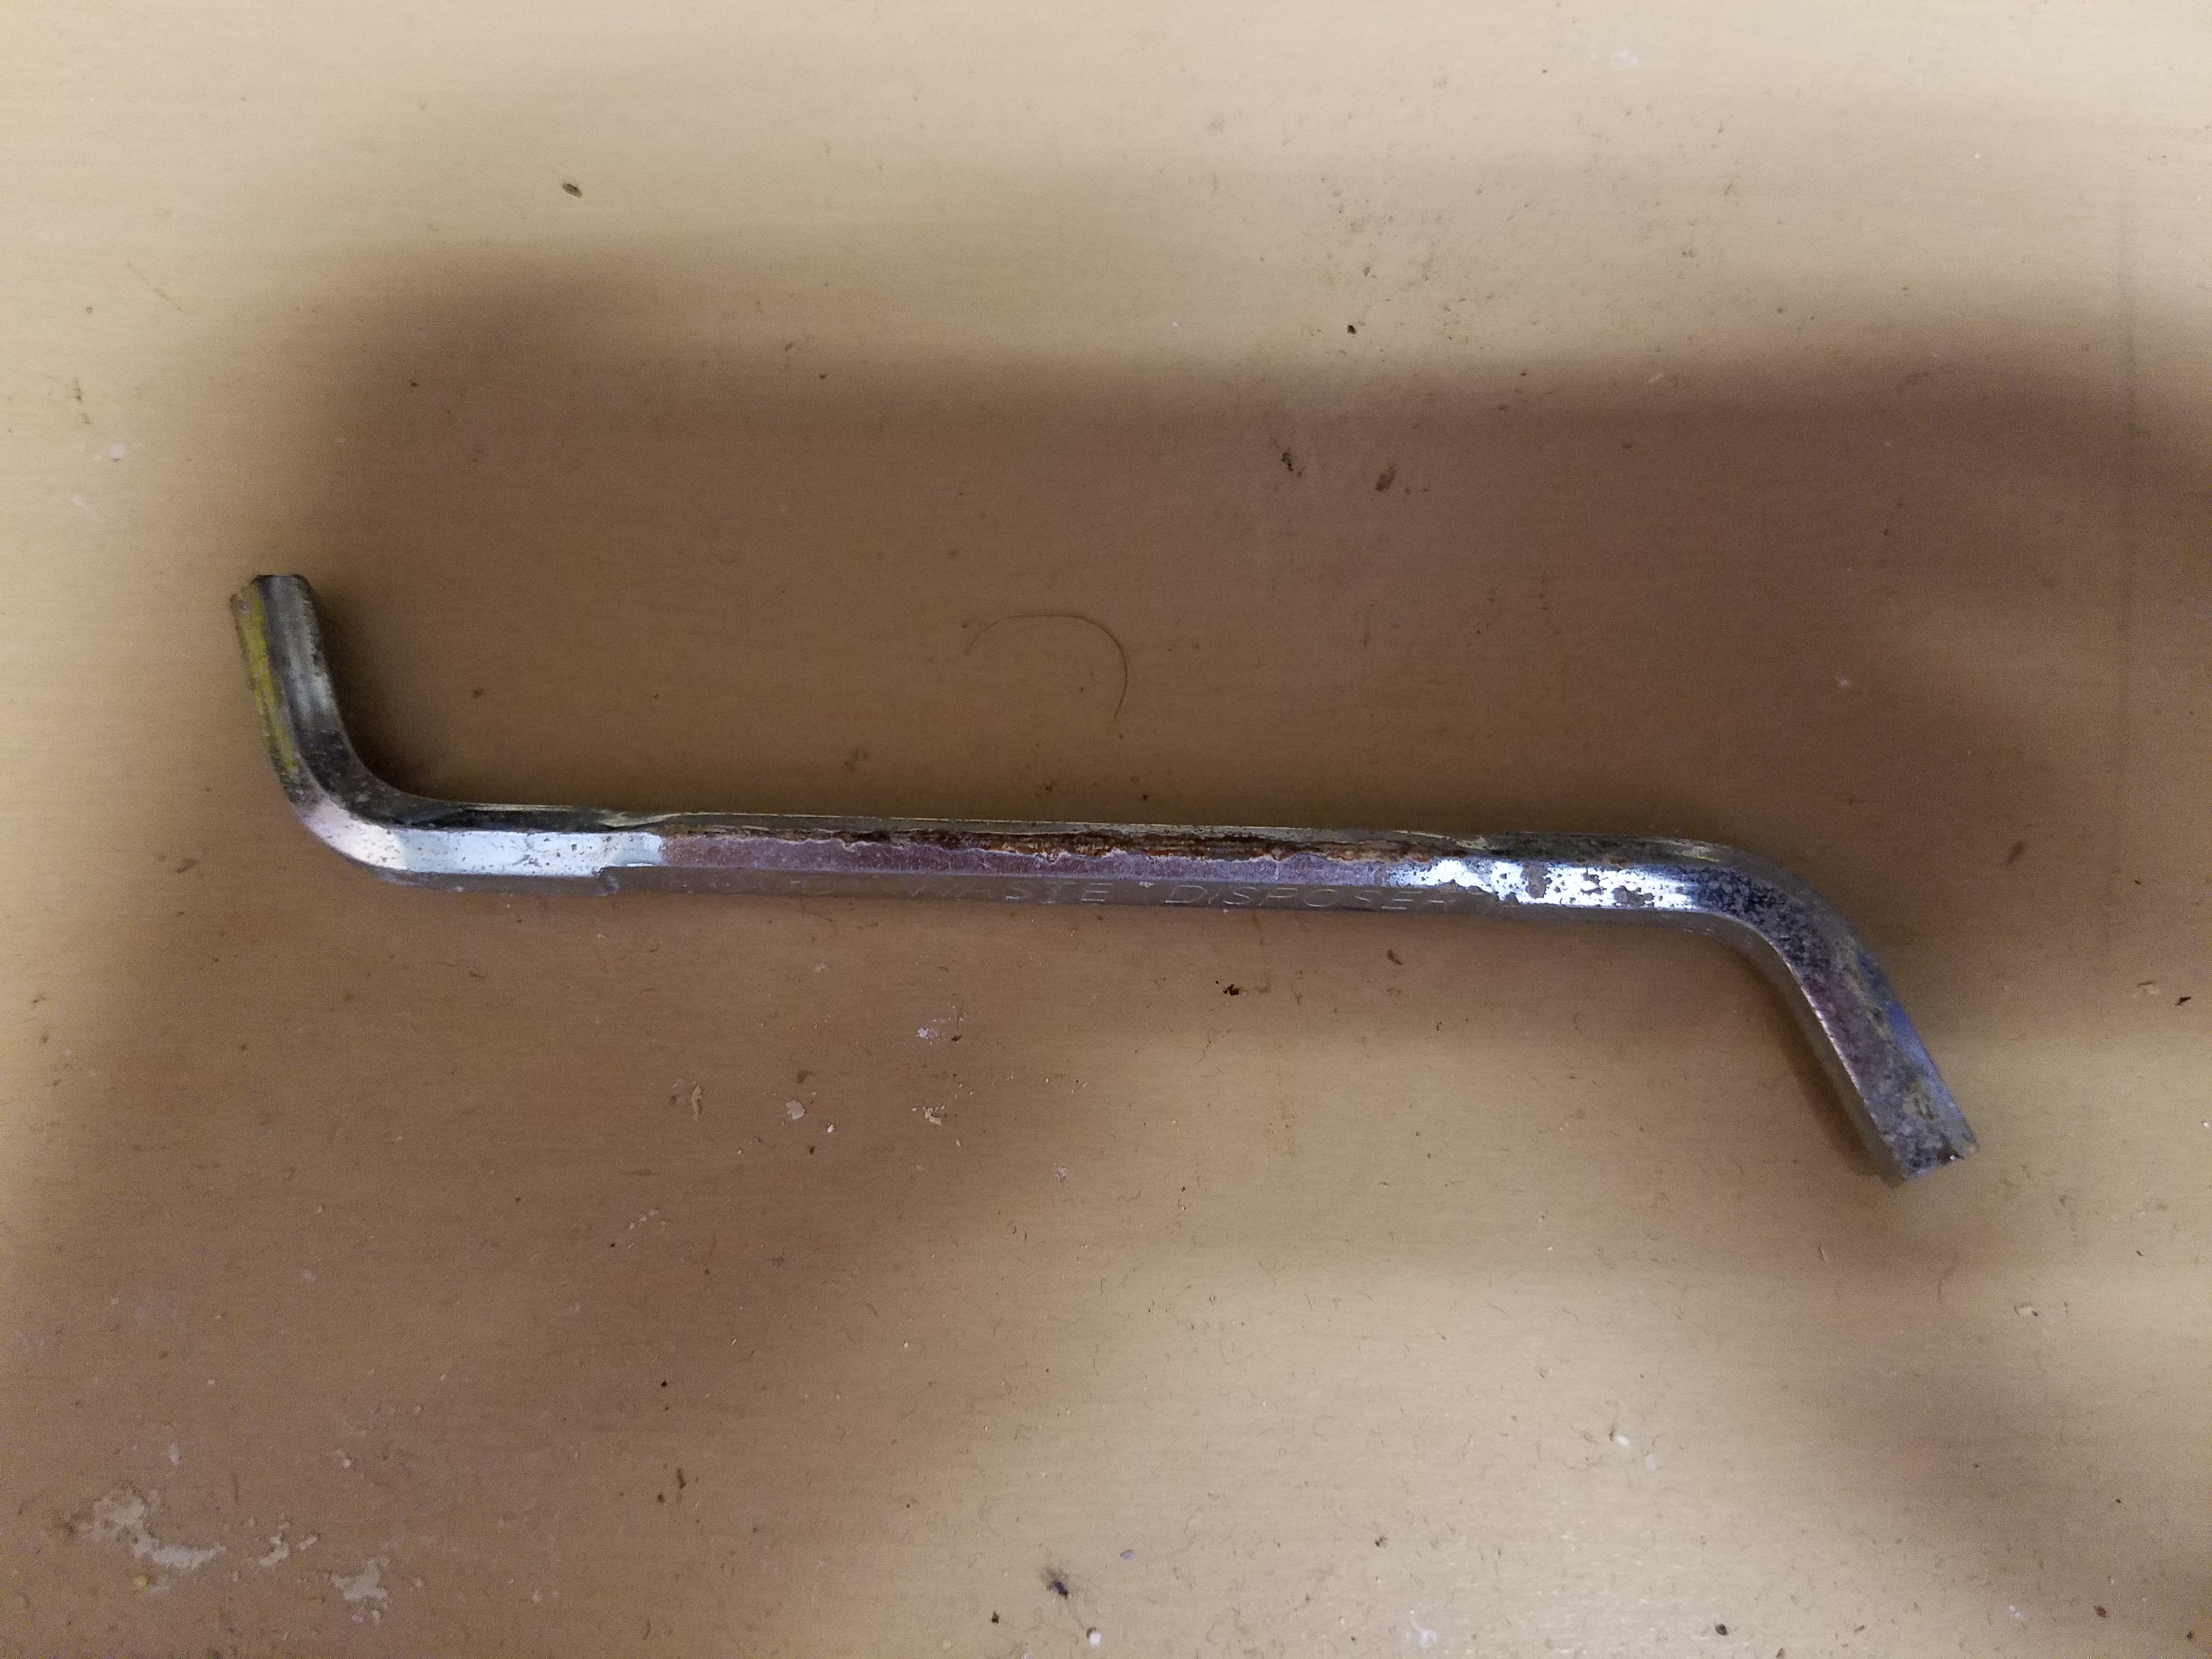
Step Two
Underneath the disposal is a manual crank insert. You will need to reverse the disposal to clear the jam. This insert is usually at the center of the bottom.
Disposals come with a hex key to uncrank jams. If you didn’t save the one that came with the disposal, you can use any hex wrench. Find a hex wrench that will fit.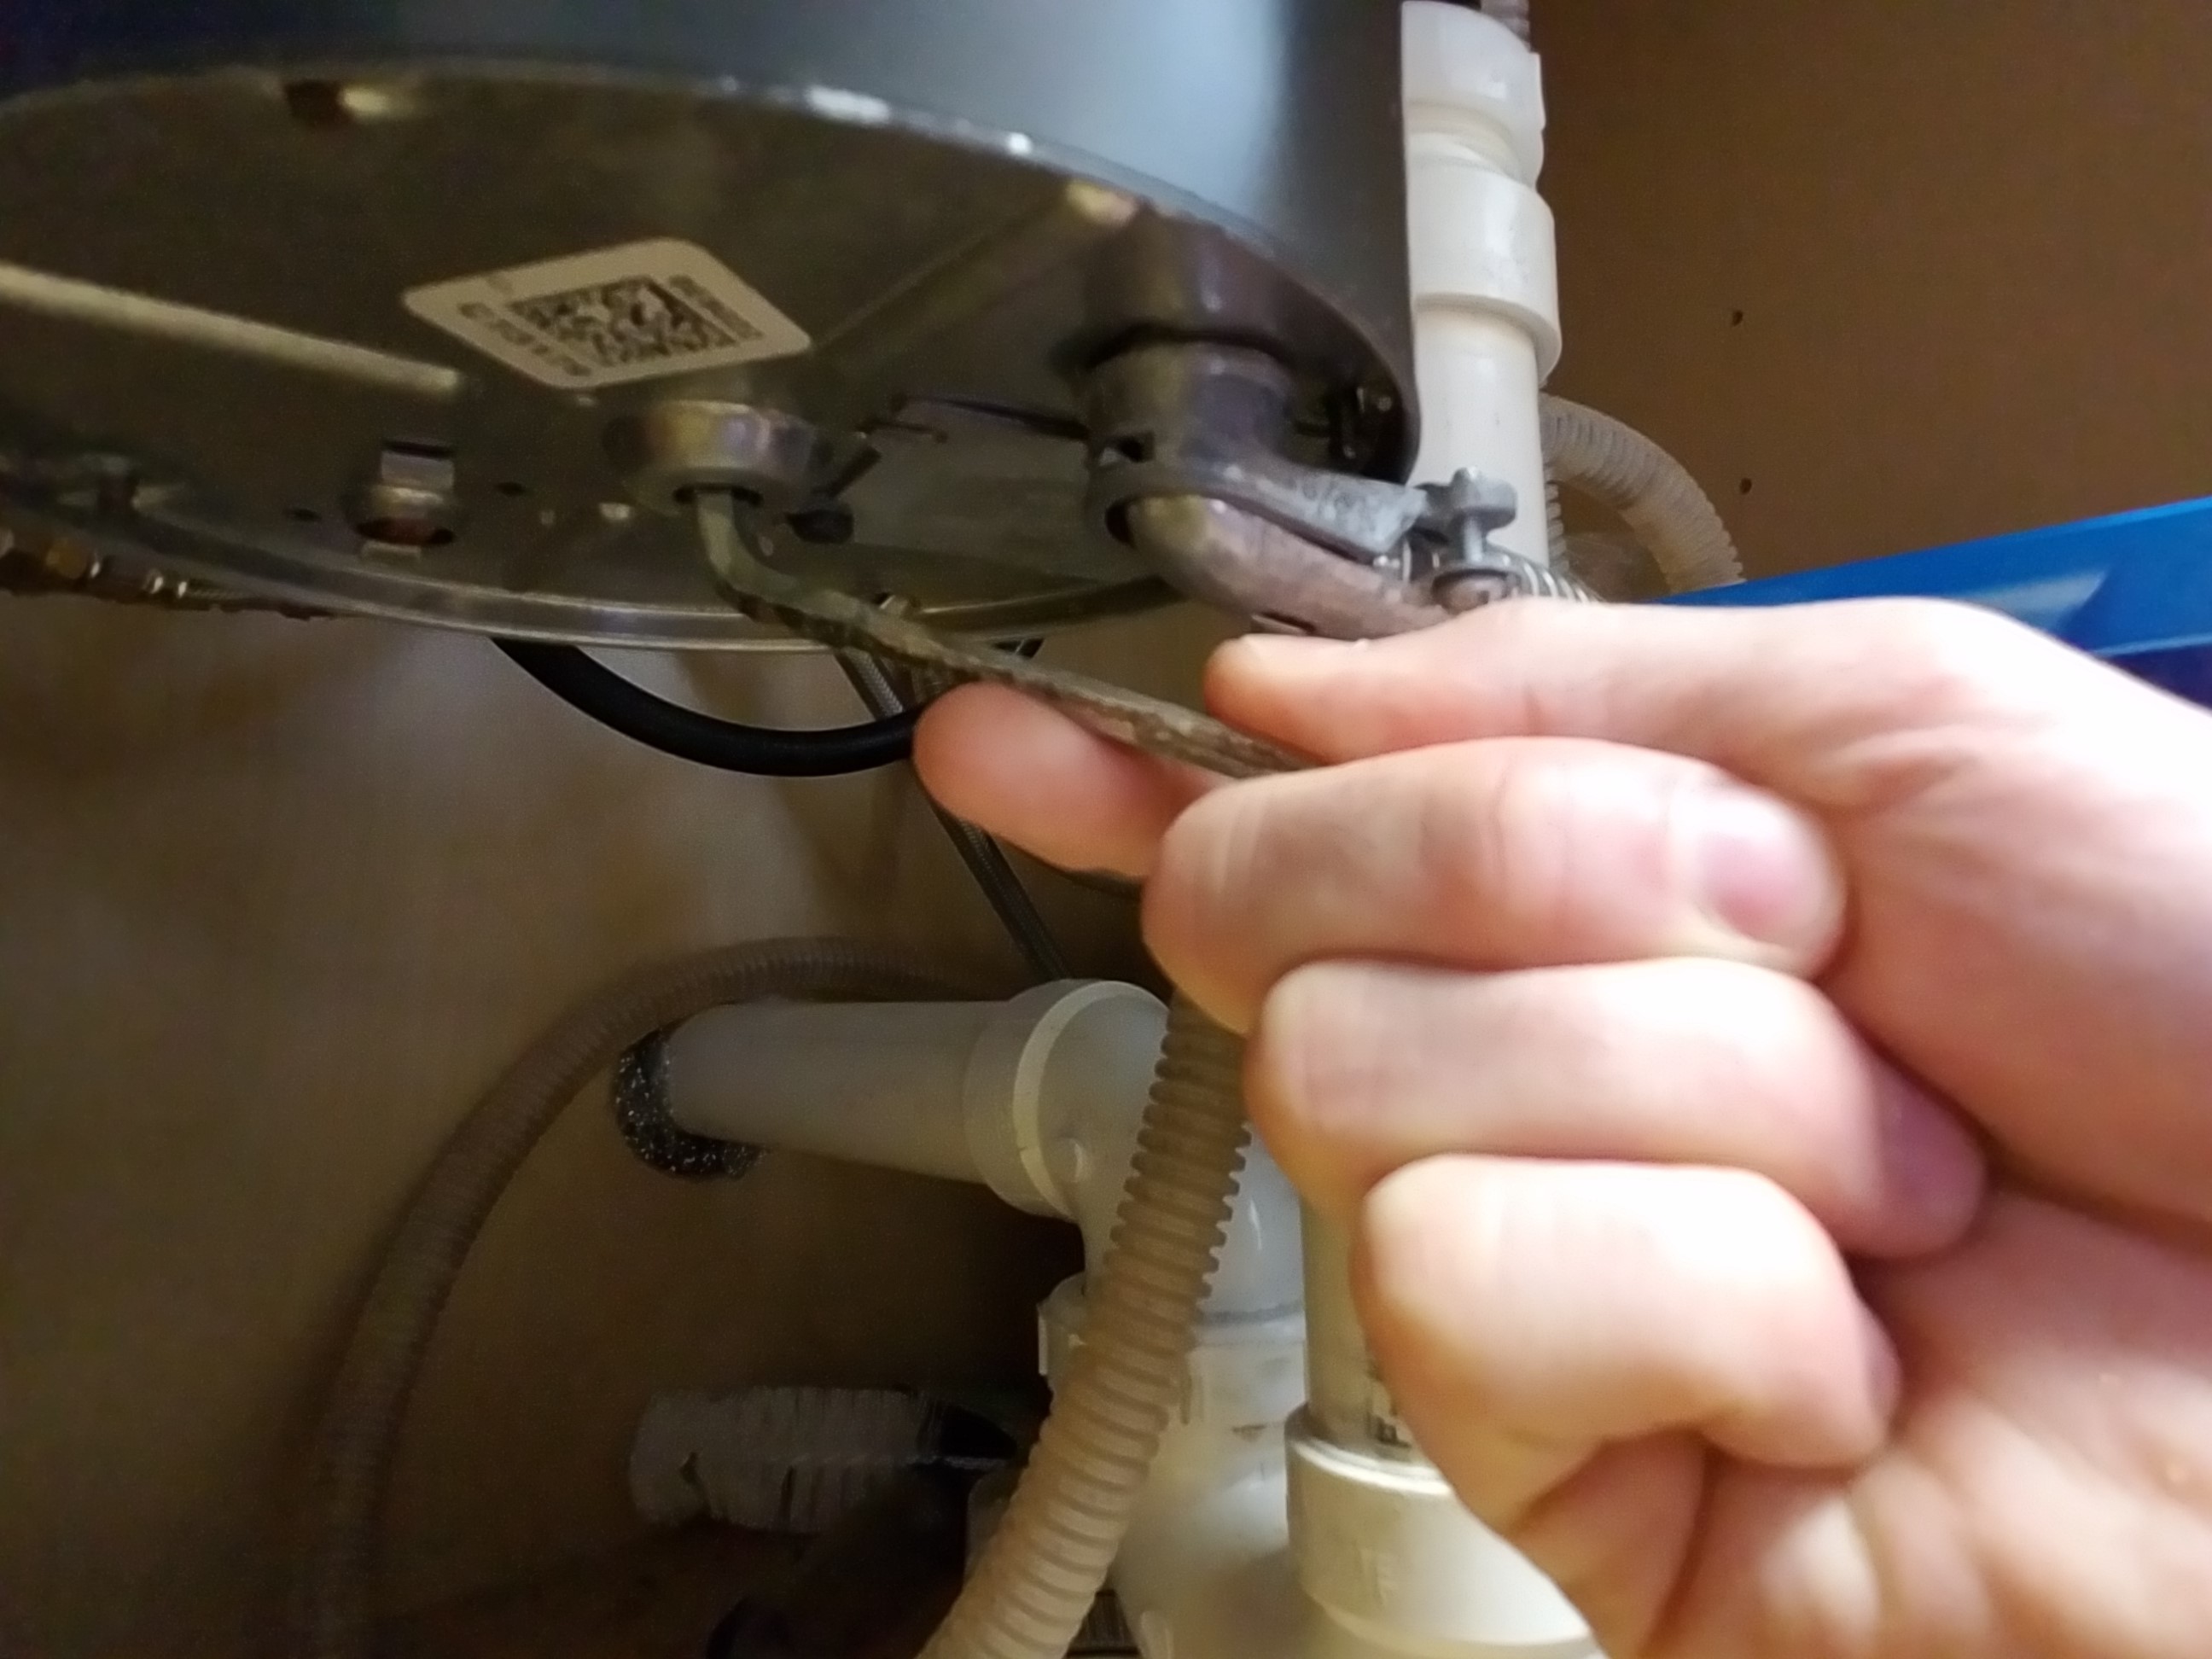
Step Three
Wiggle the wrench back and forth until the wrench loosens and the disposal turns free. Do not turn on the disposal yet.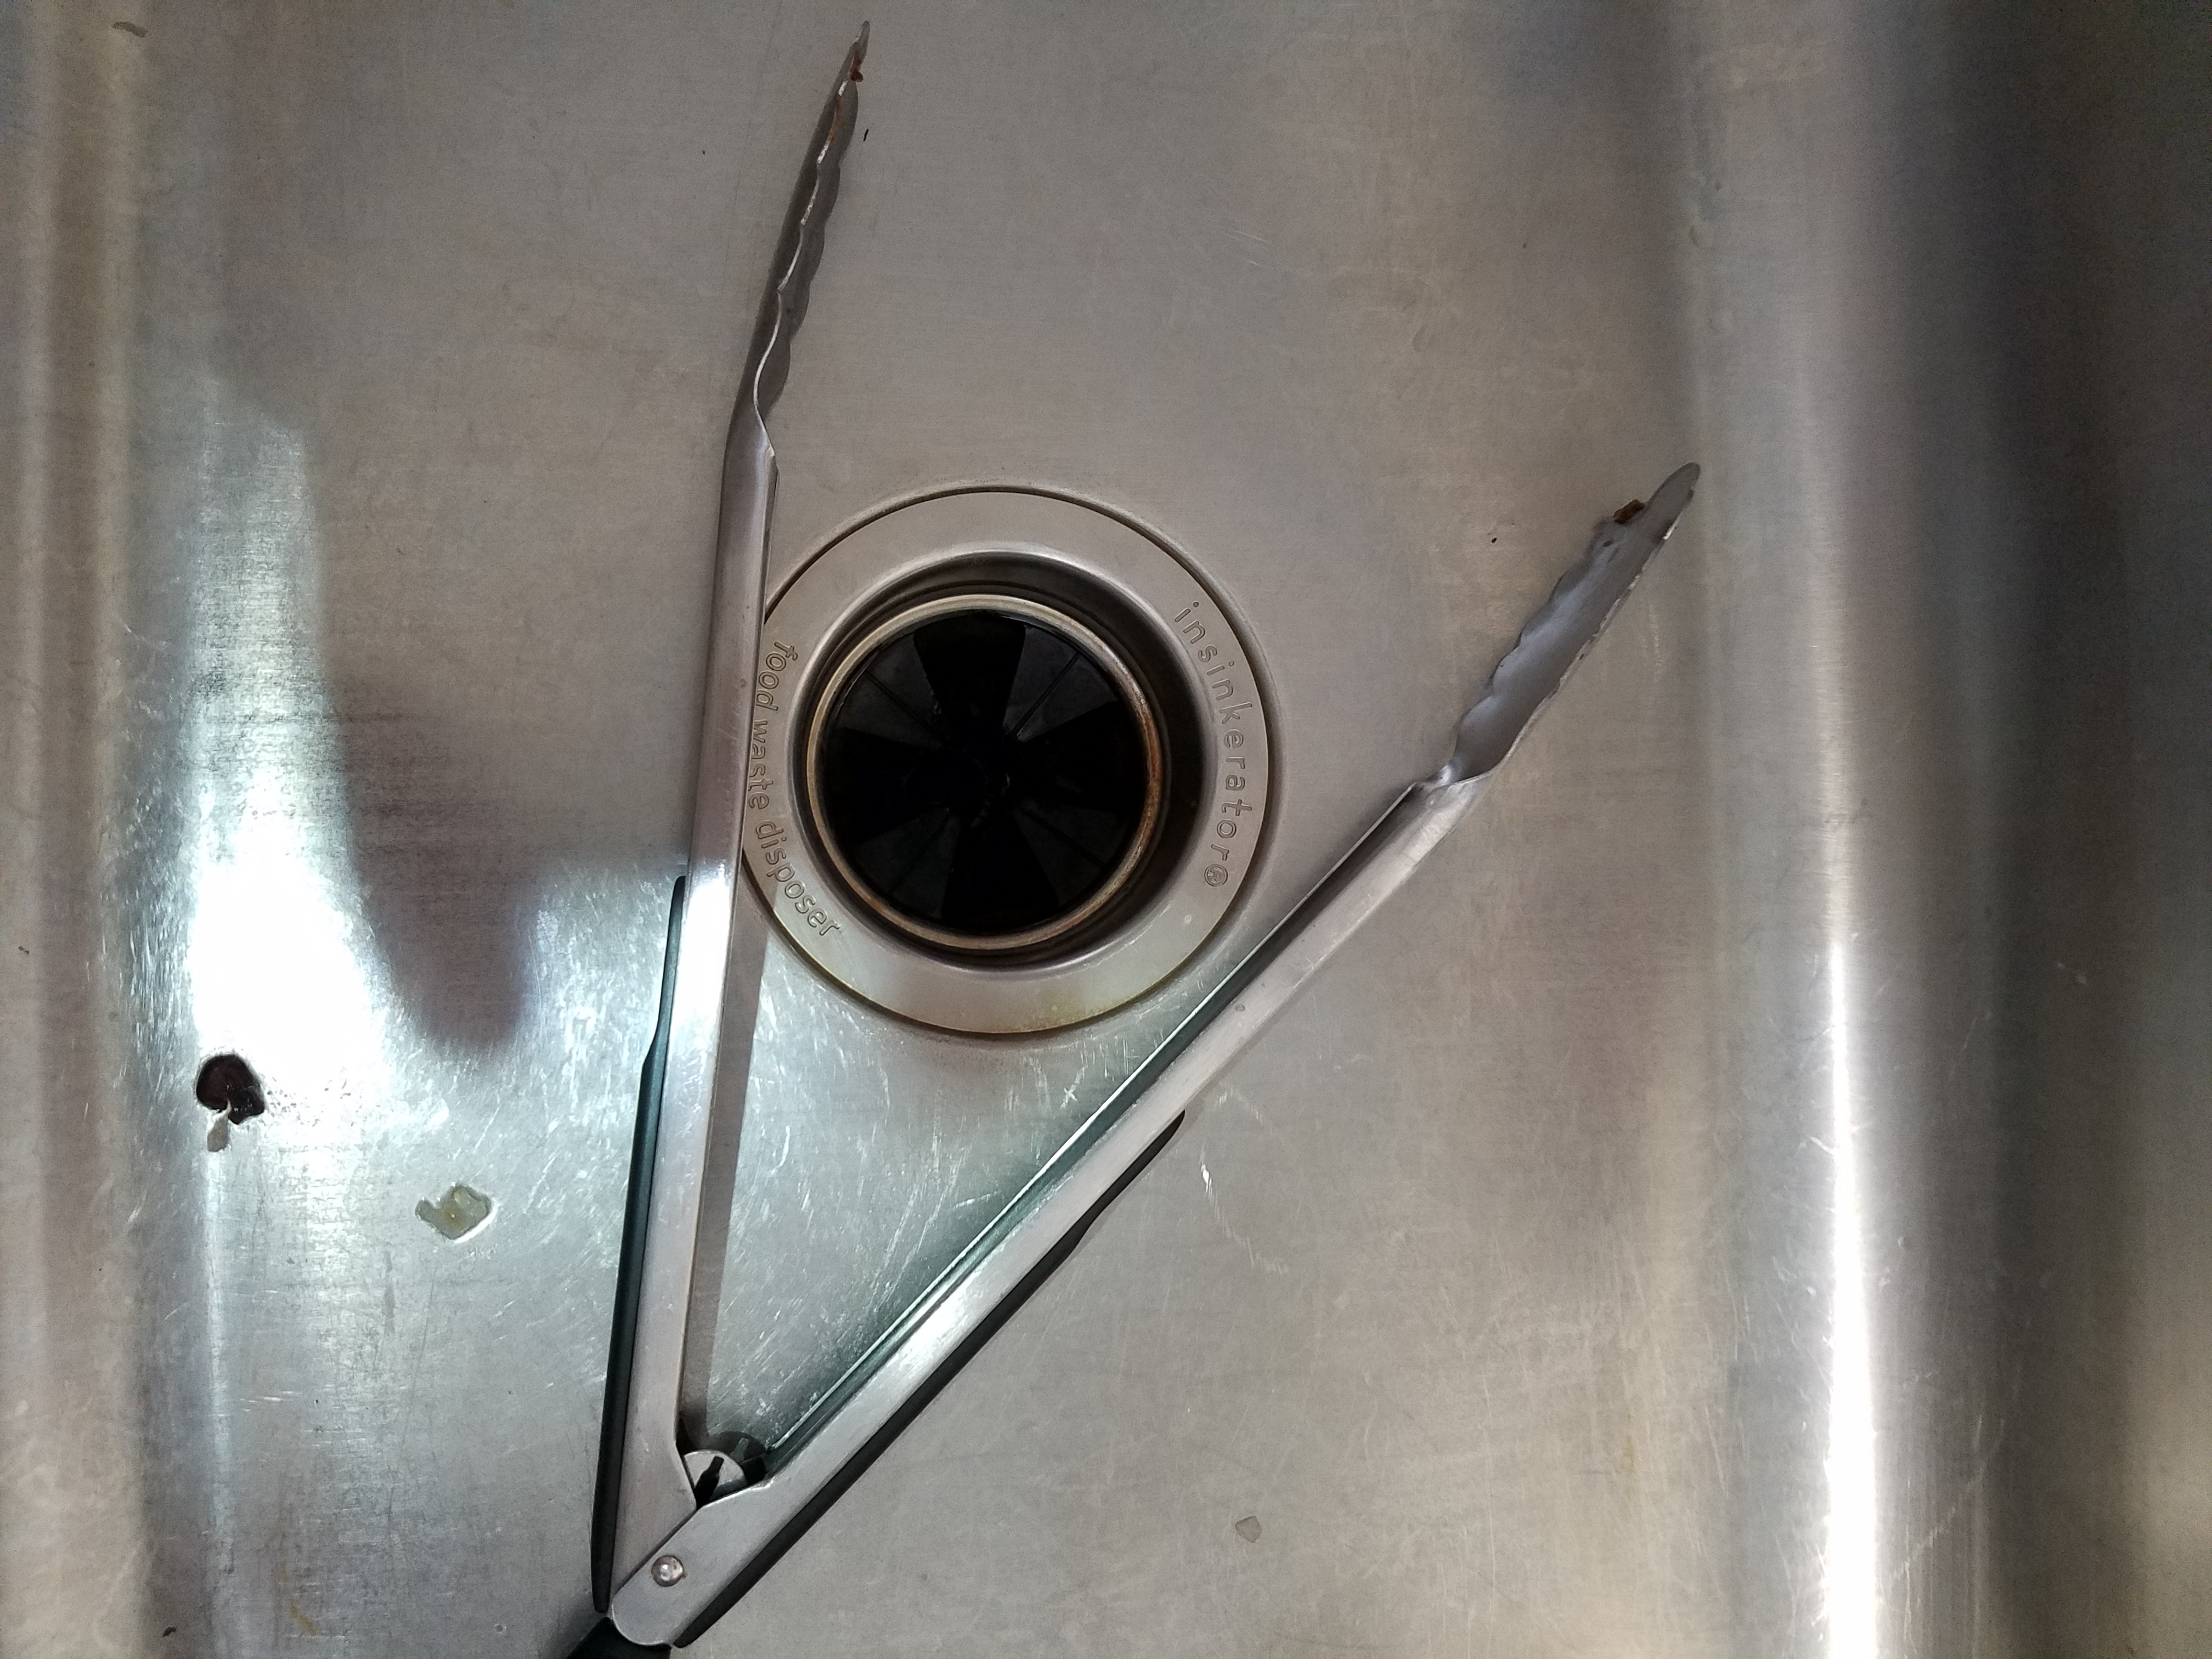
Step Four
Now you need to remove whatever jammed. Common culprits are broken glass, cutlery, construction hardware, coins, and plastic kids’ toys. You can try fingers or a tool.
Don’t immediately reach in with your bare fingers. Unless your fingers are made of broken glass, cutlery, or construction hardware etc., they could get disposed of if the switch were accidentally hit. Take the time to walk all the way down into the basement to the breaker box, cut the breakers for the disposal and/or kitchen, and go all the way back upstairs. Toggle the wall switch to verify that the power is off. Never insert fingers into a situation where a single switch is all that stands between you and a future career as Captain Hook.
Instead of your hands, an even better idea is to use grill tongs, salad tongs, or another long metal implement. Pointy instead of flat ends are best. Keep a pair of these handy in your toolbox. (If you grab a pair from the tenant’s drawer, remember to wash them afterwards. Be a good landlord!) Using a long implement that keeps your hands totally clear of the disposal saves you the trip to the breaker box.
Keep your tongs and your flashlight handy.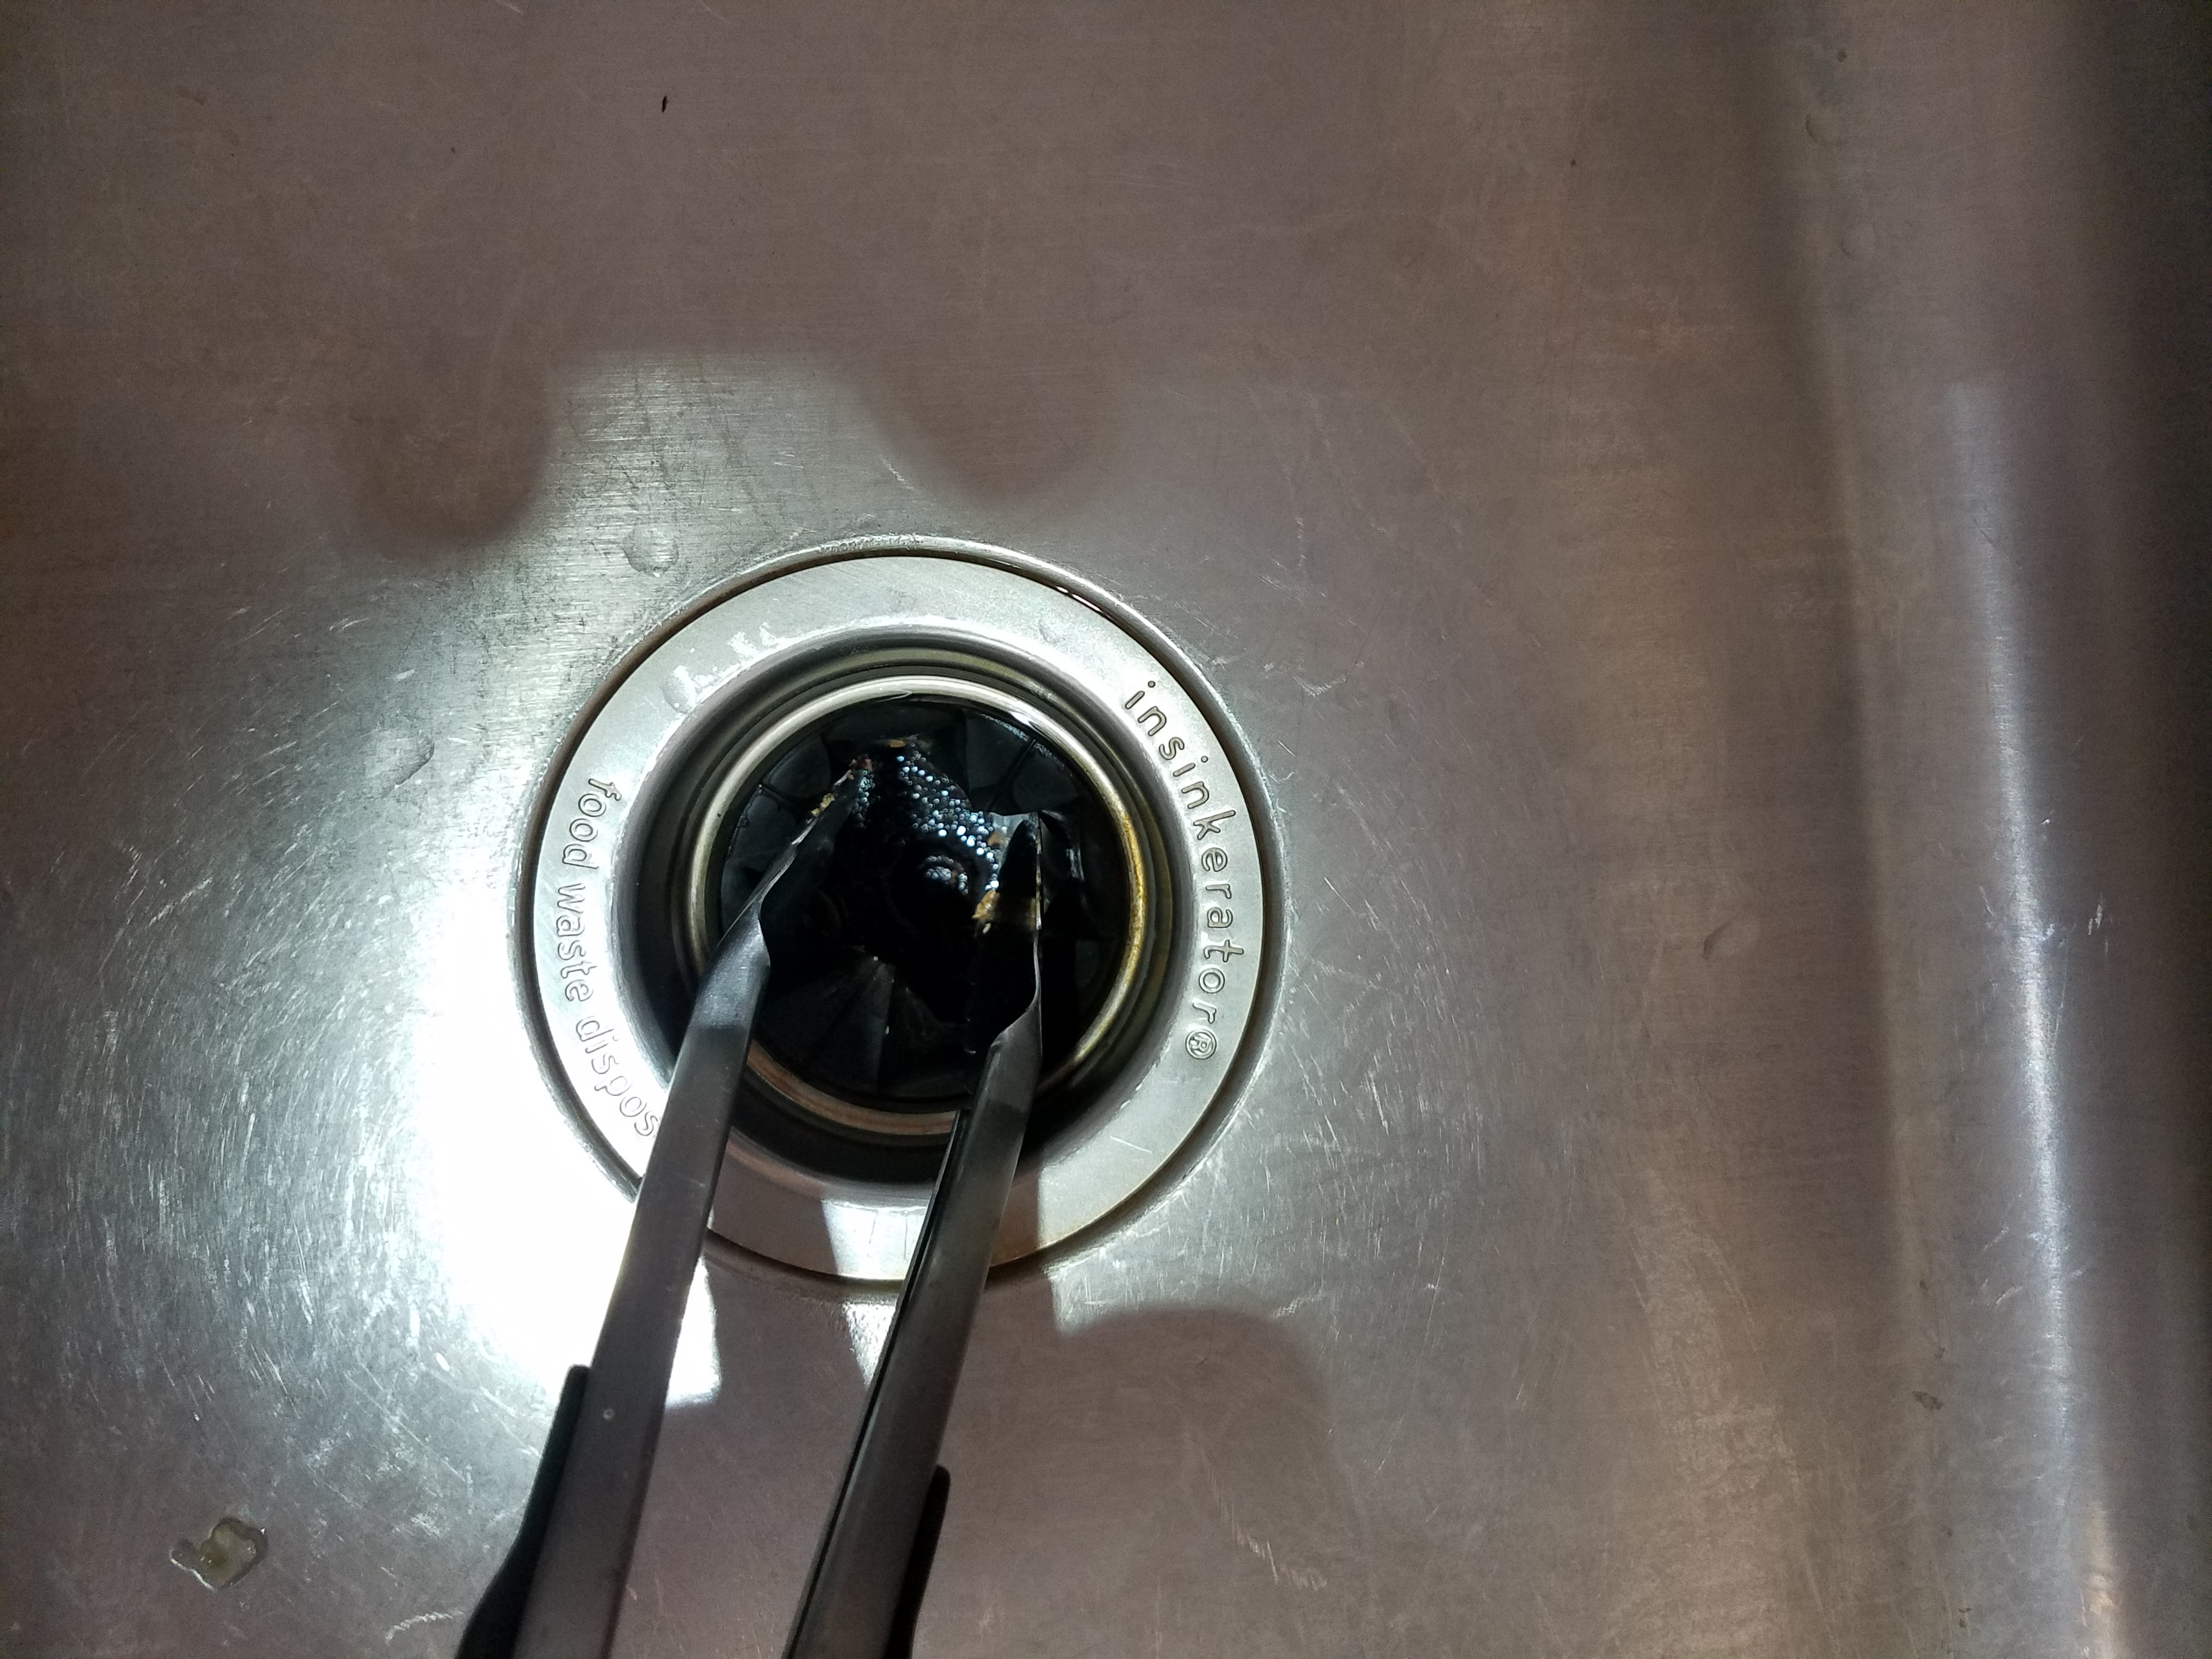
Step Five
Holding the flashlight in one hand and the tongs in the other, approach the disposal at angles. Look down where the disposal wall meets the disposal floor. This is where jams happen. Sometimes it will be obvious. Sometimes it will not. Inspect every inch until there are no more places left to look.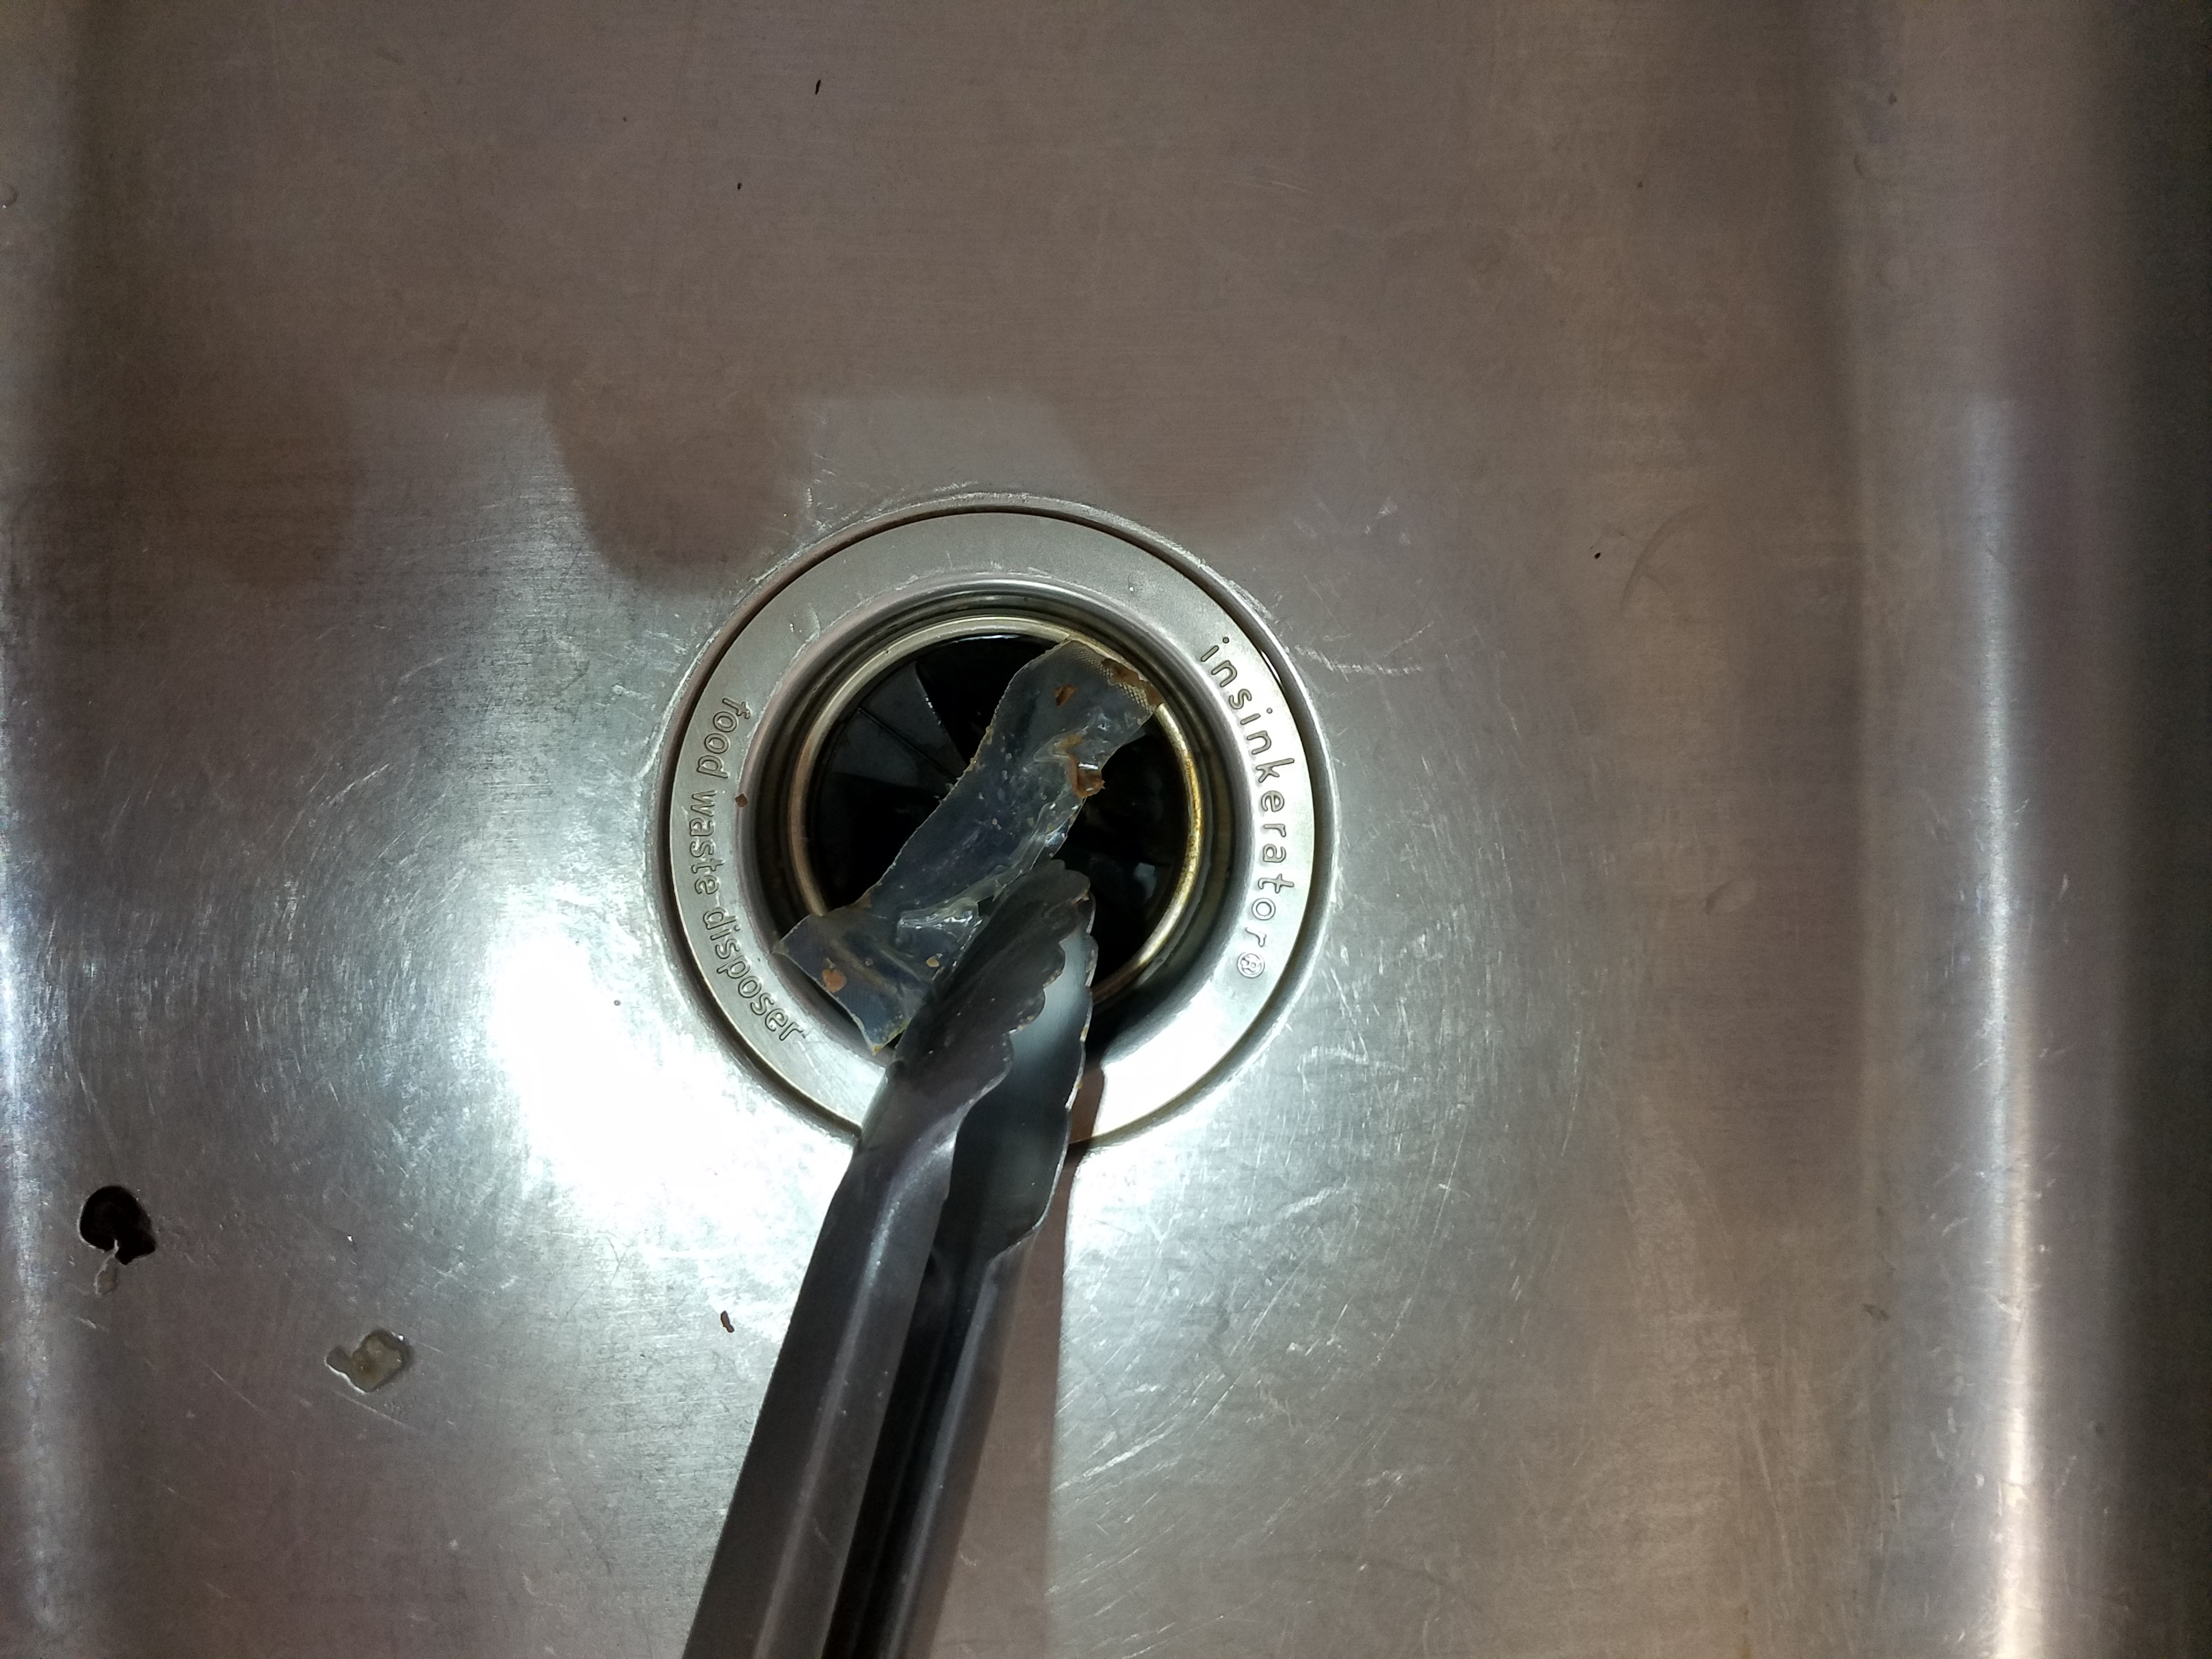
Step Six
Pull out and set aside whatever you find, whether or not you think it caused the jam. If you find a piece of lemon wedge, it could be obstructing your view of what caused the jam, even if the lemon wedge itself was not the problem. If you pull out food scraps, they could be preventing the water from draining. Pull out everything.
If you deposit debris into the sink to keep the countertop clean, make a little wall with a rag to keep it all from sliding back in to the disposal.
You will know you’ve helped when you pull out something tough but mangled. Take a picture of it to add to your collection of “things my tenants did”.
When you think you have pulled out everything, turn on the water, cross your fingers, and flip the switch to the disposal. (If you turned off the breakers, go turn those back on first.) There might be a moment of panic where the disposal groans and shakes, if it has to clear one small remaining piece of debris. But with any luck, you will have fixed your garbage disposal!
So that’s how to fix a garbage disposal. Did we miss anything? Submit your tip to our ongoing maintenance hacks survey.


